Growing your own cannabis is one of the most rewarding experiences in the hobby — and it's more achievable than most beginners think. You don't need a massive space, complex equipment, or years of experience to produce quality flower. This complete beginner's guide covers everything from choosing a setup to your first optimal harvest temperatures.
Legal note: Home growing laws vary dramatically by location. In Germany, personal cultivation of up to 3 plants is legal for adults since 2024. In the US, legality varies by state. Always verify your local laws before growing.
Step 1: Choose Your Growing Method
Indoor Growing
The most popular choice for beginners — complete control over environment, year-round growing, private and discreet.
- Pros: Year-round growing, full environmental control, privacy, predictable harvests
- Cons: Initial equipment investment (€300–1000+), electricity costs, requires more attention
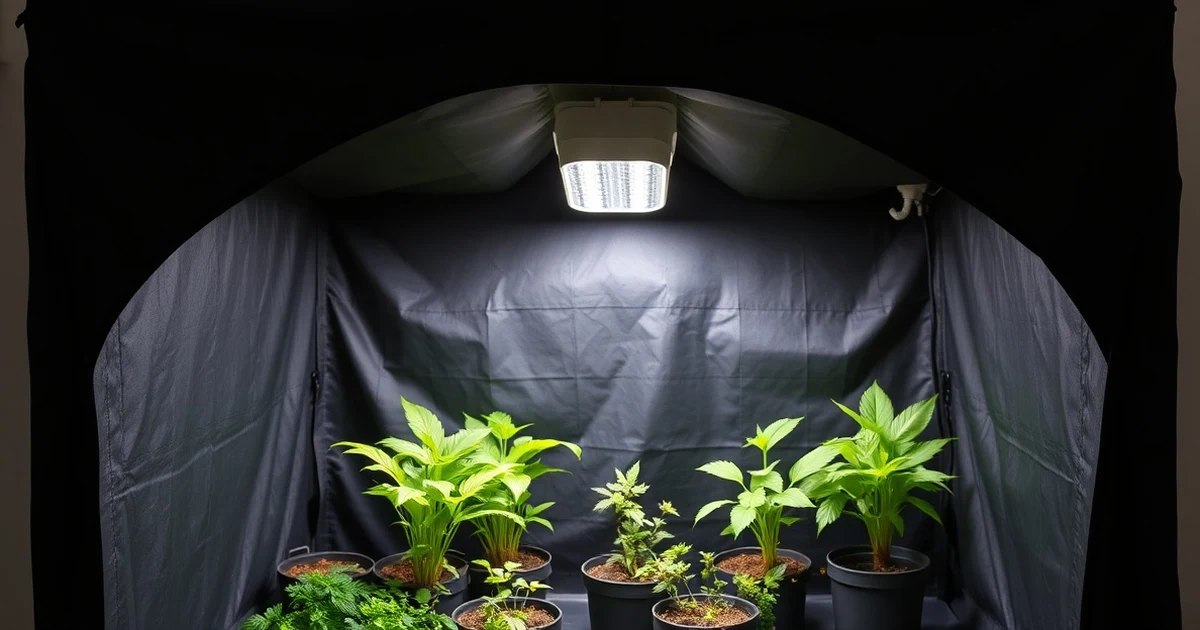
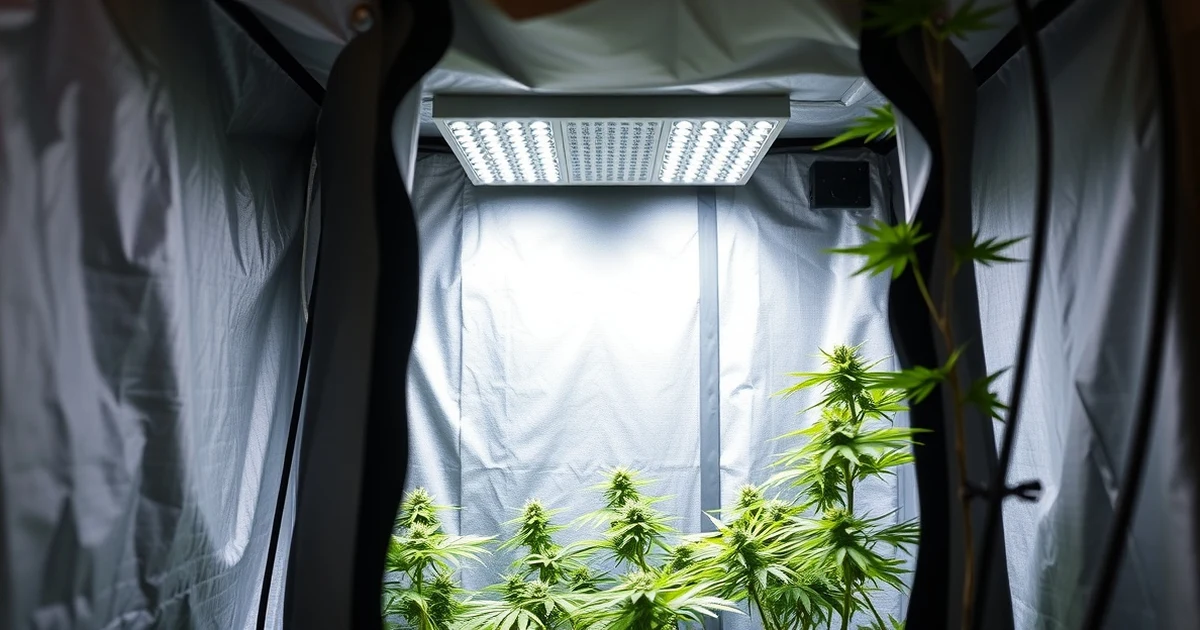
- Typical setup: Grow tent (60×60cm to 100×100cm), LED grow light, ventilation, pots, growing medium
Outdoor Growing
Simplest, cheapest approach — sun-powered, natural, massive potential yield.
- Pros: Low cost, minimal equipment, plants can grow very large, natural sunlight
- Cons: Seasonal (spring planting, fall harvest), weather dependent, less privacy, pest/disease risk
- Best climate: Long, warm summers; harvest in October in most of Europe
Autoflower vs Photoperiod: The Most Important Choice
- Autoflowering high-terpene cannabis strainss: Flower automatically based on age (8–12 weeks seed to harvest), don't require light schedule changes, forgiving for beginners, smaller yield but faster
- Photoperiod strains: Flower when light schedule changes to 12/12 hours, larger yield potential, more control over plant size, require light timing management
Recommendation for beginners: Start with autoflower vs feminized seedsing strains — simpler, faster, and more forgiving of mistakes.
 grow tent setup plant vegetative stage beginners" width="1200" height="630" loading="lazy" decoding="async" />
Step 2: Essential Equipment for Indoor Growing
Grow Light
The most important piece of equipment — light is your plant's energy source.
- LED grow lights: Best option for most beginners — energy efficient, full spectrum, low heat, long lifespan. Quantum board LEDs (Samsung LM301B/H chips) are the current gold standard.
- Power guide: ~35–50W actual LED power per sq ft of growing space (not claimed watts, actual watts)
- For a 60×60cm tent: 100–150W actual LED sufficient for 1–2 plants
- For a 100×100cm tent: 250–300W actual LED for 4–6 autoflowers
Grow Tent
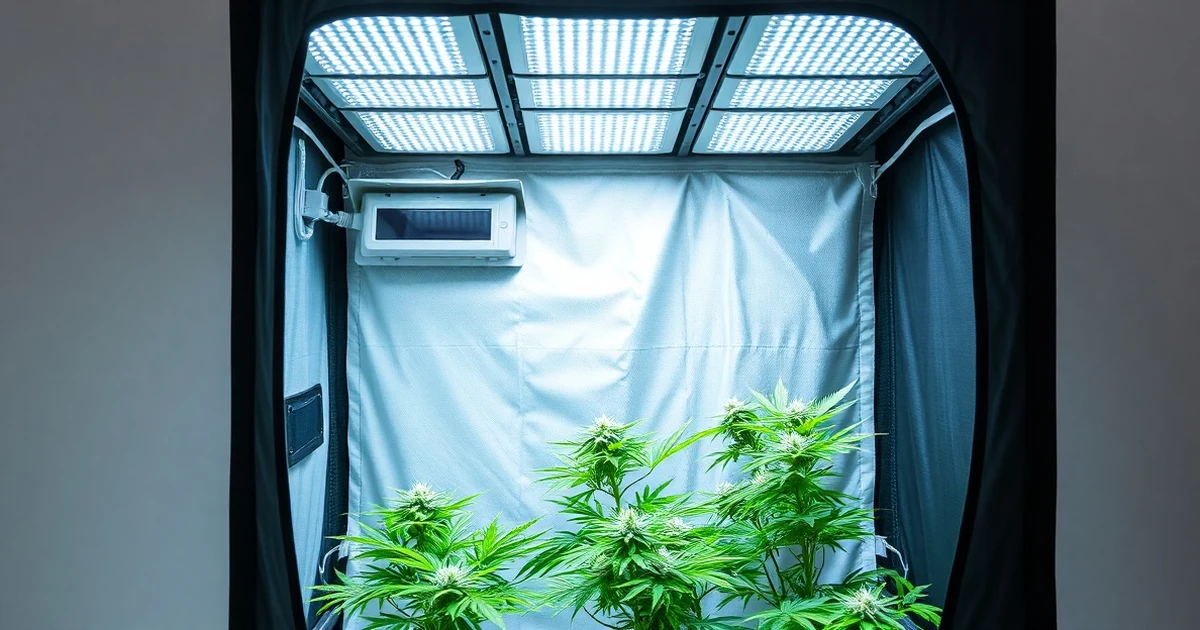
Reflective interior maximizes light use; keeps smell contained with proper ventilation. See our complete grow tent guide for size recommendations.
Ventilation
- Inline fan carbon filter: Removes smell, maintains CO2 levels, controls temperature/humidity
- Rule of thumb: Fan should exchange the tent's air volume every 1–3 minutes
- Oscillating fans: Circulate air inside the tent, strengthen stems, prevent hotspots
Growing Medium
- Soil (recommended for beginners): Most forgiving — buffers pH and nutrients naturally. Use quality cannabis-specific soil or add 20–30% perlite to potting mix for better drainage.
- Coco coir: Inert medium requiring full nutrient management — more control, faster growth, steeper learning curve
- Hydroponics: Fastest growth potential but most complex — not recommended for absolute beginners
Pots
- Autoflowers: 7–12L (2–3 gallon) fabric pots — final container from the start
- Photoperiod: Start in small pots (0.5L), transplant up as needed; final pot 15–25L
- Fabric pots recommended — better air pruning of roots, prevent overwatering

Step 3: Understanding the Growing Stages
Germination (1–7 days)
The seed sprouts a taproot. Methods:
- Paper towel method: Place seeds between moist paper towels, keep warm (22–25°C). Taproot appears in 1–5 days. Transfer to soil when taproot is 5–10mm.
- Direct soil seed germination guide: Plant seed 5mm deep in moist soil, keep warm. Less handling risk but less visibility.
Seedling Stage (1–3 weeks)
First true leaves appear. Keep lights close (LED: 40–60cm), humidity high (60–70%), temperatures 22–26°C. Water lightly — seedlings are delicate and prone to overwatering.
Vegetative Stage (2–8 weeks)
Rapid growth of stems, branches, and leaves. The plant builds its structure for eventual bud production.
- Light schedule: 18 hours on / 6 hours off for photoperiods; autoflowers continue at 18-20/4-6
- Training techniques: Low Stress Training (LST) — gently bend and tie branches to create a flat canopy; increases yields significantly
- Watering: Water when top 2–3cm of soil is dry; lift pot — lighter = time to water
- Nutrients: Nitrogen-heavy feeds during veg (N-P-K ratio like 3-1-2)

Flowering Stage (6–14 weeks depending on strain)
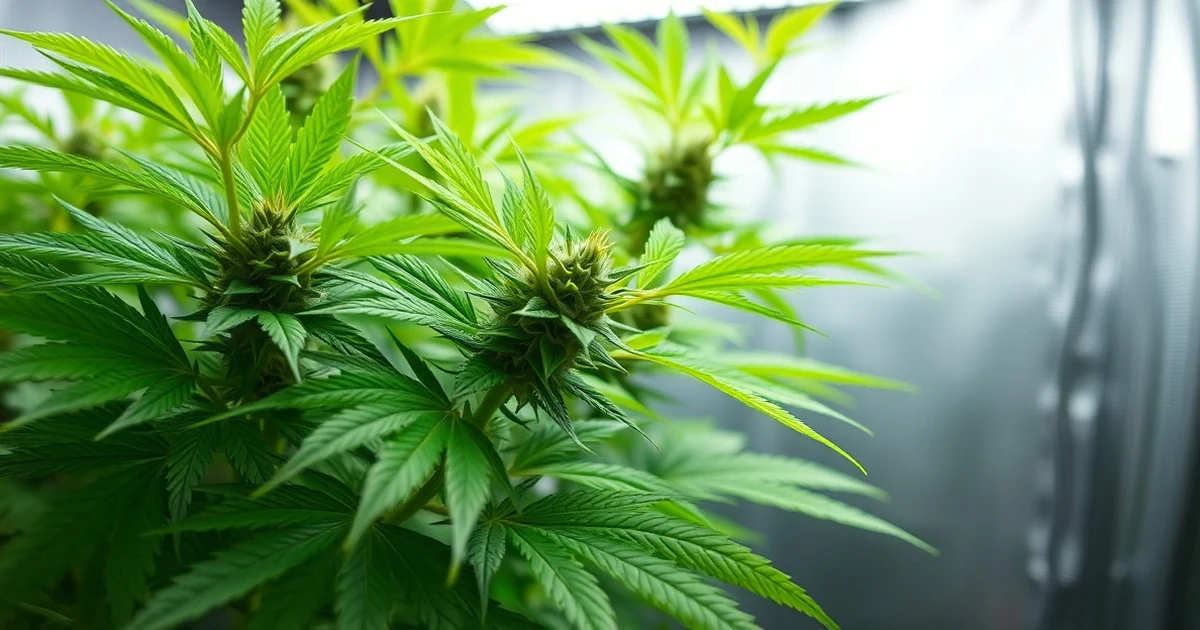
The plant produces buds (trichome-covered flowers containing cannabinoids and cannabis terpene profiless).
- Trigger for photoperiods: Change light to 12/12 (12 hours on, 12 hours darkness)
- Autoflowers: Begin flowering automatically after 3–5 weeks, regardless of light
- Nutrients: Shift to phosphorus/potassium heavy feeds (P-K ratio increase)
- Week 4–6: Buds swell significantly — "the stretch" plus bud development
- Week 6–8: Trichomes develop; white pistils start turning amber/orange
- Flush: Last 1–2 weeks, many growers feed only plain water to clear nutrients
Harvest: When Is It Ready?
The most critical judgment call in growing:
- Trichome inspection (most accurate): Use a jeweler's loupe (30–60×) or digital microscope. Clear trichomes = too early. Milky/cloudy = peak THC. Amber trichomes = THC converting to CBN, more body effect.
- Optimal harvest window: 70–80% milky 20–30% amber for balanced effect; more amber = more sedating
- Pistil method (less accurate): When 70–80% of white hairs have turned orange/red — roughly indicates readiness
Step 4: Drying and Curing
Proper drying and curing is what separates amateur harvests from professional-quality product.
Drying (7–14 days)
- Cut branches and hang upside down in a dark room
- Temperature: 15–20°C; Humidity: 45–55%
- Airflow but not direct air on buds
- Ready when small stems snap (not bend) and outside feels dry but inside still slightly moist
Curing (2–8 weeks)
- Trim buds and place in glass mason jars (fill 75%)
- "Burp" jars daily for first 2 weeks (open for 10–15 minutes to release moisture and CO2)
- Cure for minimum 2–4 weeks; 8+ weeks produces noticeably smoother, more complex flavor
- Proper curing develops terpene profile, reduces harshness, improves potency

Common Beginner Mistakes
| Mistake | Problem | Fix |
|---|---|---|
| Overwatering | Root rot, yellowing, drooping | Water only when top soil is dry; check pot weight |
| Wrong pH | Nutrient lockout even with feeding | pH soil/water to 6.0–7.0; check regularly |
| Too much nutrients | Nutrient burn (brown leaf tips) | Start at 1/4–1/2 recommended dose; increase gradually |
| Light too far / too close | Stretching (too far) or light burn (too close) | Follow manufacturer's distance guide; adjust by VPD |
| Harvesting too early | Lower yield, harsher taste, less potency | Use trichome inspection; wait for milky/amber ratio |
| Skipping curing | Harsh smoke, grass/hay taste, lower potency | Always cure minimum 2–4 weeks in sealed glass jars |
Beginner Strain Recommendations
- Northern Lights Auto: Classic, forgiving, excellent for beginners. 8–9 weeks from seed. Relaxing, high-myrcene indica effects.
- Blue Dream Auto: Balanced sativa-leaning, good yields, weed mold identification-resistant. Forgiving of beginner mistakes.
- Critical Auto: High yield potential in compact plant. Fast (8–9 weeks). Good resin production.
- Royal Dwarf Auto: Compact (40–60cm), ideal for very small spaces, 8–9 weeks.
Key Takeaways
- Autoflowering strains are strongly recommended for first-time growers — simpler and faster
- LED grow lights (quantum board style) are the best modern option for indoor growing
- The biggest beginner mistakes are overwatering and harvesting too early
- Trichome inspection (jeweler's loupe or microscope) is the most accurate harvest timing method
- Proper curing (2–8 weeks in sealed glass jars) is as important as the grow itself for final quality
- Start small — 1–2 plants in a 60×60cm tent teaches you everything needed to scale up
Related Articles
Häufig gestellte Fragen

Geschrieben von
Die Green Treasure Redaktion
Unabhängiger Cannabis-Journalismus auf wissenschaftlicher Basis. Wir berichten über Terpene, Vaporizer, Edibles, Anbau und Gesundheit.