A grow best grow tents reviewed is the foundation of any indoor cannabis grow — it creates a self-contained, controlled growing environment that maximizes light efficiency, manages controlling cannabis odor and heat, and keeps your grow discreet. Whether you're growing 1 plant or 6, choosing the right tent size and understanding how to set it up makes all the difference.
Why Use a Grow Tent?
Grow tents aren't just boxes — they solve multiple problems simultaneously:
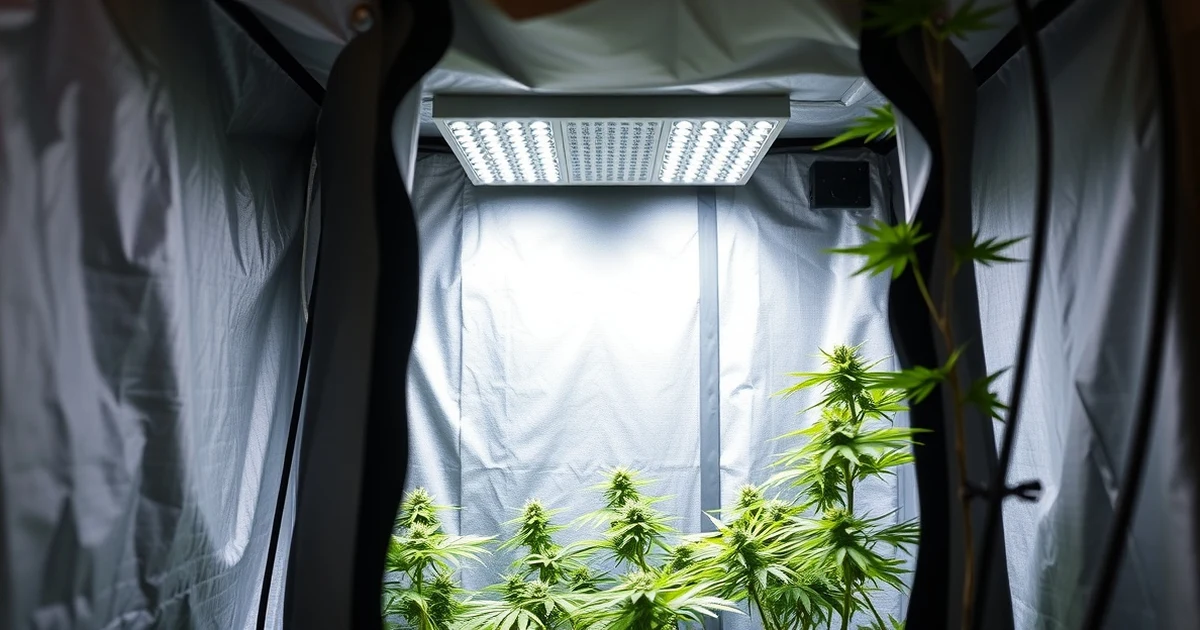
- Reflective interior (Mylar): 90–98% light reflectivity ensures no lumens are wasted — more light reaches your plants from all angles
- Smell containment: Combined with a carbon filter and inline fan, a tent fully contains cannabis odor
- Environmental control: Isolates cannabis temperature guide, humidity, and CO2 levels from the rest of your space
- Pest/cannabis mold prevention containment: Limits the spread of any issues to the tent itself
- Discretion: Solid exterior looks like a wardrobe from outside
- Light-proof: Critical for photoperiod plants that need 12 hours of complete darkness to flower

Grow Tent Size Guide
Choosing the right size is the most important decision. Match tent size to your goals and available space:
| Size (cm) | Size (ft) | Plants (Auto) | Plants (Photo) | LED Power Needed | Best For |
|---|---|---|---|---|---|
| 60×60×140 | 2×2×4.6 | 1–2 | 1 | 100–150W | Micro grows, first timers |
| 80×80×160 | 2.6×2.6×5.2 | 2–3 | 1–2 | 150–200W | Small personal grow |
| 100×100×200 | 3.3×3.3×6.6 | 3–5 | 2–4 | 250–300W | Most popular beginner size |
| 120×120×200 | 4×4×6.6 | 4–6 | 4–6 | 300–400W | Serious hobby grows |
| 150×150×200 | 5×5×6.6 | 6–9 | 4–8 | 450–600W | High-yield setup |
| 240×120×200 | 8×4×6.6 | 8–12 | 6–10 | 600–800W | Perpetual harvest setup |
Rule of thumb: 250W actual LED per square meter of canopy for good yields. A 100×100cm (1 sq meter) tent needs ~250W actual LED power — not the "equivalent" or claimed watts, the real draw from the wall.

What to Look for in a Grow Tent
Frame and Material
- Frame thickness: 19mm steel poles for small tents; 22–25mm for larger tents. Thicker = sturdier and supports more hanging weight (lights, fans, carbon filters)
- Canvas thickness: 600D–1680D Oxford canvas. Higher number = more durable, better light-proofing. Budget tents use 210D or 300D which can develop pinholes
- Mylar interior: Should be heavy-duty, smooth, and highly reflective. Avoid wrinkled or thin Mylar — reduces reflectivity
Zippers and Seams
The weakest point on cheap tents — double-stitched seams and high-quality zippers prevent light leaks. Run your hand along all seams in a dark room to check for light leaks after setup.
Vent Ports
Multiple ports for inline fan, passive air intake, electrical cables, and drainage. Sock-style port covers (elastic rather than Velcro) seal better.
Observation Window
A transparent viewing port lets you check plants without opening the tent — essential for photoperiod grows during the dark period.
Complete Grow Tent Setup: Step by Step
Step 1: Assemble the Frame
Most tents require no tools — metal poles slot together. Install all horizontal cross-bars first (these support hanging equipment), then attach the canvas.
Step 2: Install the Carbon Filter and Inline Fan
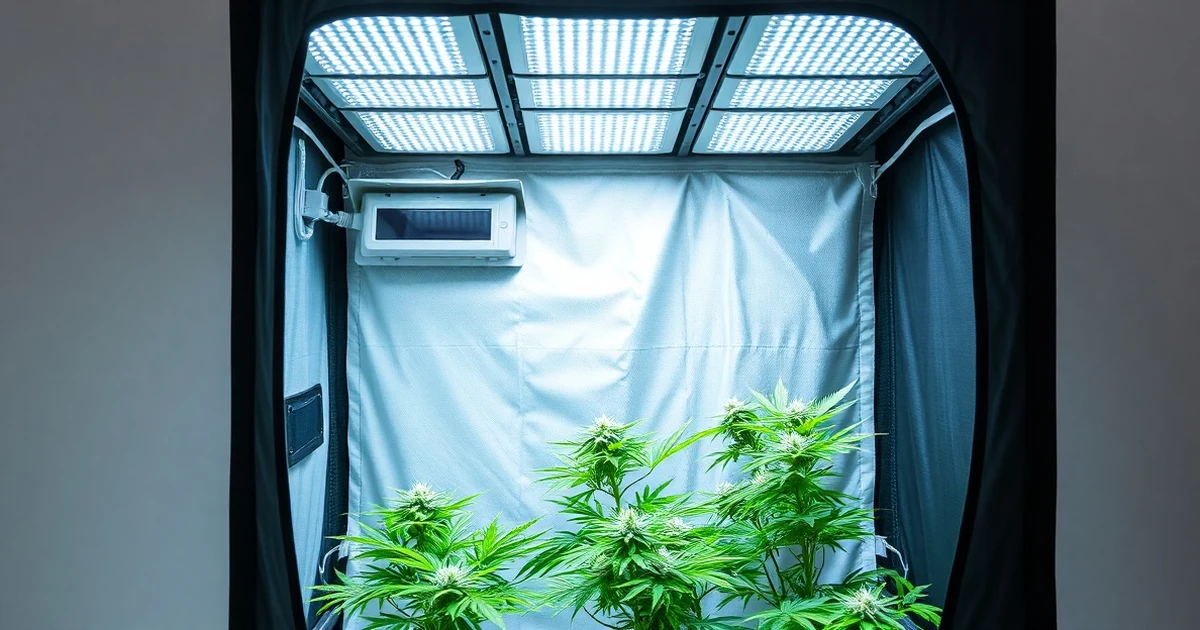
Standard setup: Carbon filter inside tent (hung from top bar) → duct from filter → inline fan (can be inside or outside tent) → ducting out through top port. This pulls air through the filter before exhausting outside.
- Fan size guide: For a 100×100×200cm tent (~2000L volume), use minimum 200–250m³/h fan to exchange air every ~8 minutes
- Speed controller highly recommended — run fan at lower speeds during lights-on, higher during lights-off or peak heat
Step 3: Install the Grow Light
- Hang light from top bars using rope ratchets (allows height adjustment)
- Starting height: 45–60cm above canopy for most LEDs; adjust per manufacturer's recommendation
- Ensure all electrical connections are outside the tent or use waterproof connectors inside
Step 4: Add Internal Circulation Fan
A small clip or oscillating fan inside the tent circulates air, prevents hot/cold spots, and strengthens plant stems (light mechanical stress builds thicker stalks). Angle it to gently oscillate across the canopy rather than blast directly at plants.

Step 5: Environmental Controls
- Temperature: Aim for 22–28°C during lights-on; 18–22°C lights-off. Temps above 30°C reduce terpene production and stress plants.
- Humidity: Seedlings: 65–70%; Veg: 50–70%; Early flower: 40–50%; Late flower: 35–45% (lower = reduced mold risk)
- Monitor with: Digital thermometer/hygrometer — ideally one with min/max memory. Wireless models that connect to your phone are very useful.
Step 6: Light Schedules
- Autoflowers: 18h on / 6h off throughout entire grow (some growers use 20/4)
- Photoperiod veg: 18/6 until desired plant size reached
- Photoperiod flower: Flip to 12/12 — this triggers flowering. Must be absolute darkness during the 12-hour dark period (check for all light leaks)
Recommended Grow Tent Brands
- Mars Hydro: Best value in mid-range. 600D canvas, solid frames, good value grow tent kits (tent LED fan bundle)
- Spider Farmer: Quality construction, matching well with their SF LED lights. 1680D canvas on premium models.
- Secret Jardin: French brand, professional grade, excellent build quality — used by commercial growers
- Gorilla Grow Tent: Premium US brand, thick 1680D canvas, height extension kits available
- Budget options (Vivosun, AC Infinity): Acceptable for beginners but verify light-proofing

Grow Tent Kits: Worth It?
Complete grow tent kits (tent light fan filter bundled) offer convenience and are usually better value than buying components separately. Best kit packages include:
- Tent matching LED inline fan/filter combo at 15–30% discount vs separate purchase
- Mars Hydro and Spider Farmer both offer well-matched kits
- Verify actual LED wattage in kits — some budget kits underprice by using undersized lights
Troubleshooting Common Grow Tent Problems
| Problem | Cause | Fix |
|---|---|---|
| Temperature too high (30°C+) | Insufficient extraction, light heat | Increase fan speed, consider ducting light outside tent |
| Smell escaping tent | Carbon filter saturated or too small, air leaks | Replace carbon filter (typically every 12–18 months), seal leaks with tape |
| Humidity too high (>70% in flower) | Insufficient air exchange | Increase fan speed, add dehumidifier if needed |
| Light leaks | Zipper gaps, port seams | Black electrical tape on gaps; velcro patches on port seams |
| Plants stretching toward light | Light too far away or too weak | Lower light closer to canopy per manufacturer guide |
Key Takeaways
- 100×100cm is the most popular size — fits 3–5 autoflower seedss, compatible with most available equipment
- Invest in quality: 600D+ canvas and thick steel frame prevent light leaks and equipment failures
- The carbon filter inline fan is non-negotiable for odor control
- Plan for ~250W actual LED per square meter of canopy
- Maintain temperature 22–28°C and humidity 40–50% during flowering for best results
- Grow tent kits from Mars Hydro or Spider Farmer offer good value for beginners
Related Articles
Häufig gestellte Fragen

Geschrieben von
Die Green Treasure Redaktion
Unabhängiger Cannabis-Journalismus auf wissenschaftlicher Basis. Wir berichten über Terpene, Vaporizer, Edibles, Anbau und Gesundheit.