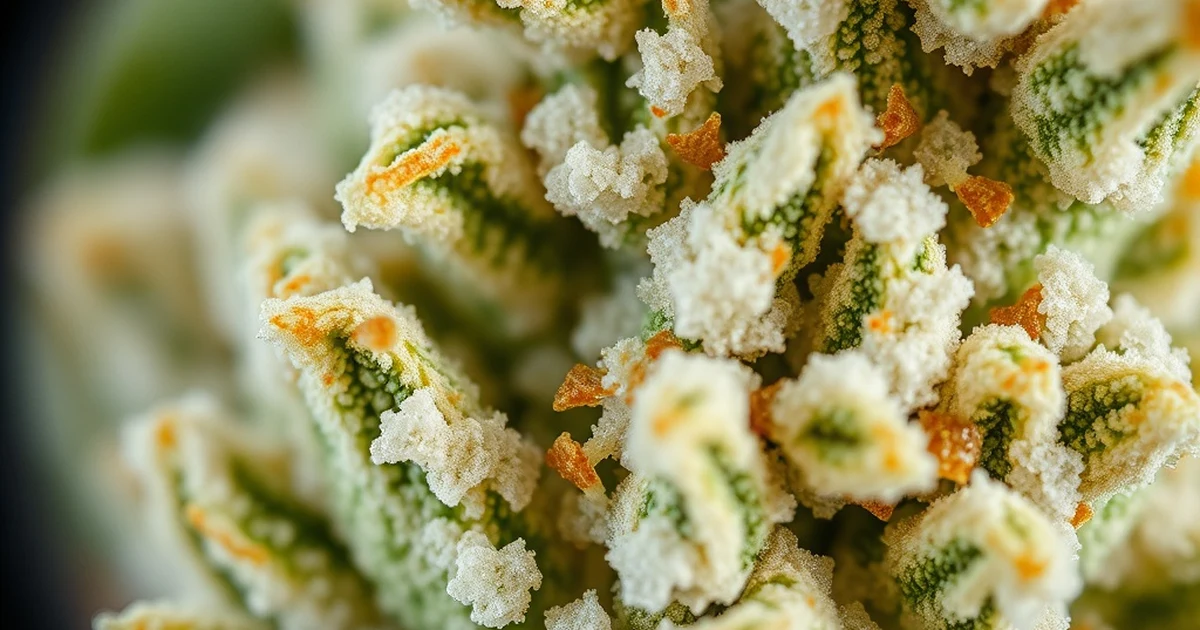
When to Harvest Cannabis Trichomes: Timing and Signs
This guide targets intermediate to advanced home growers and small-scale cultivators who want to move beyond basic calendar timing and pistil watching. The purpose is straightforward: empower you to make precise, science-backed harvesting decisions that maximize potency, yield, and your desired effect.
Understanding when to harvest cannabis trichomes separates average grows from exceptional ones. The difference between a euphoric, terpene-rich experience and a disappointing, harsh smoke often comes down to 3-5 days of observation.
Before you cut a single branch, you need to recognize three key cues:
Pistil color progression from white to amber/brown
Trichome color shifts from clear to cloudy to amber
Fan leaves yellowing as a secondary indicator
The vast majority of growing cannabis knowledge focuses on the vegetative and flowering phases. But the final stage—determining harvest readiness—deserves equal attention. Let’s break it down.
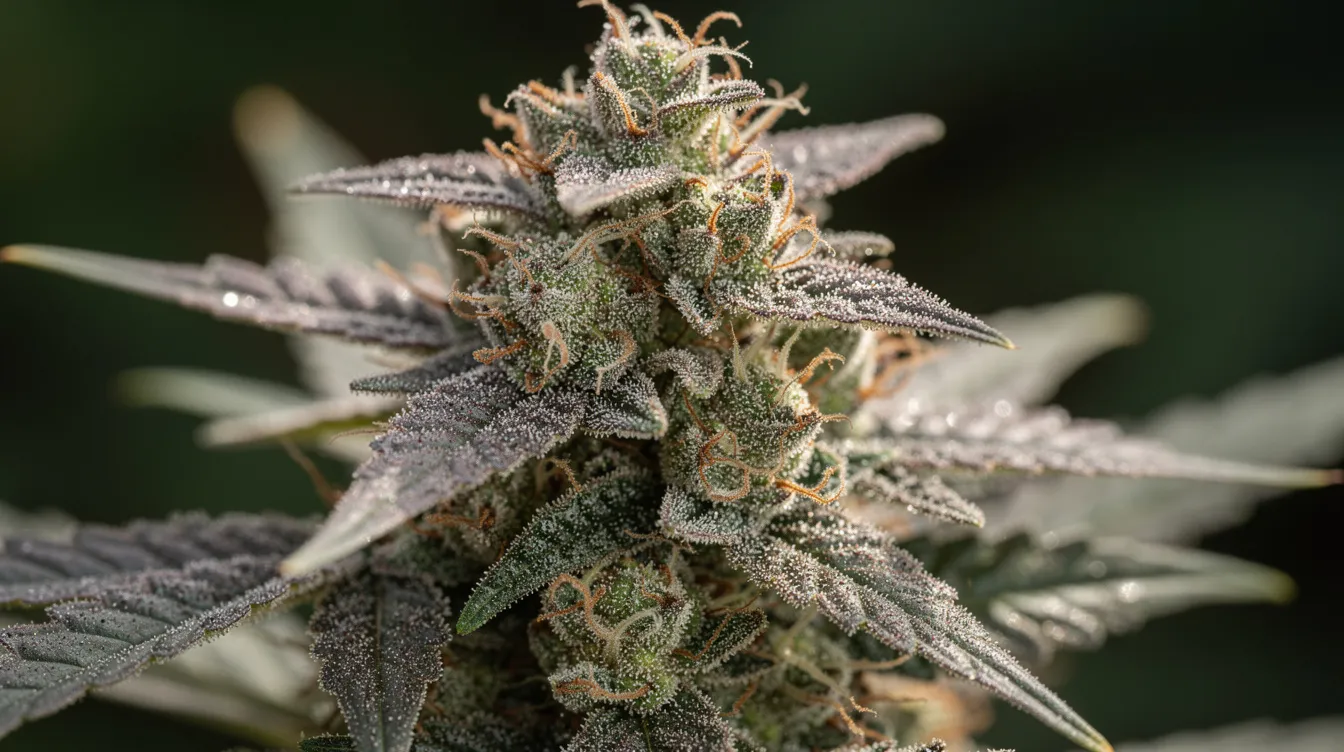
Overview: When to Harvest Cannabis Plants
The harvest window is the narrow 5-7 day period when cannabis trichomes reach optimal ripeness. This window varies based on strain genetics, phenotype expression, and environmental factors. For photoperiod strains, this typically falls between weeks 8-14 of flowering. Autoflowers generally reach harvest earlier, around 8-10 weeks from seed.
Timing profoundly affects both potency and the character of your high.
Trichomes house over 80-90% of the cannabinoids and terpenes your cannabis plant produces. These glandular trichomes are microscopic resin factories, and their development stage at harvest determines everything from THC levels to flavor profiles.
Why timing matters:
Harvest Timing | Result |
|---|---|
Too early | High CBGA (precursor cannabinoid), low potency, grassy taste, smaller yields |
On time | Maximum THC/CBD/terpenes, densest buds, richest aromas |
Too late | THC converts to CBN, 20-30% reduction in psychoactivity, sedative effects |
The trichome-based decision method synthesizes visual inspection under magnification, prioritizing milky trichomes for maximum cannabinoid accumulation. This approach outperforms pistil-only or calendar methods because it accounts for strain-specific variations that those methods ignore.
Most growers who harvest cannabis plants by calendar alone miss their optimal window by a week or more. When you harvest marijuana plants using trichome observation, you’re reading the actual chemical state of the resin glands rather than guessing based on breeder estimates.
Signs on Cannabis Buds and Fan Leaves
Before reaching for your magnifier, start with what’s visible to the naked eye. Cannabis buds and the surrounding foliage offer several macro-level indicators that harvest time approaches.
Pistil Color Progression
Pistils—the hair-like structures emerging from calyxes—change predictably throughout the flowering cycle.
Early flowering: Pistils appear white and straight, signaling active growth and immaturity. Cannabis flowers at this stage contain minimal cannabinoid content.
Mid-to-late flowering: Approximately 50% of pistils darken, curl inward, and shift to orange, red, or brown tones. This indicates trichome peak is approaching.
Harvest readiness: When 70-90% of pistils have darkened and curled, most plants are at or near their window.
Pistil changes typically lag behind trichome development by several days. Use them as a preliminary signal, not your primary decision point.
Indica strains tend to show earlier pistil curling than sativas. Different strains express this progression at varying rates, so calibrate your expectations based on genetics.
Fan Leaves Yellowing
As marijuana plants mature, lower fan leaves naturally turn yellow and die off. This senescence occurs because the plant remobilizes nutrients from foliage into bud development.
The progression moves upward:
Lower fan leaves yellow first
Mid-canopy leaves follow
Upper leaves remain green longest
When top fan leaves begin yellowing while cannabis buds remain green and healthy, you’re in the final stage of ripening. However, don’t let this override trichome checks—over-reliance on leaf color risks missing your window or inviting bud rot in humid conditions.
Bud Firmness and Density Assessment
Gently squeeze your main colas. Ready-for-harvest buds feel dense and unyielding. Early buds feel spongy and compressible.
Peak density correlates with proper harvest timing. Growers who wait for firm, fully-swelled calyxes report 20-30% yield increases compared to those who harvest prematurely during cannabis growth phases.
Inspect Cannabis Trichomes And Trichome Color
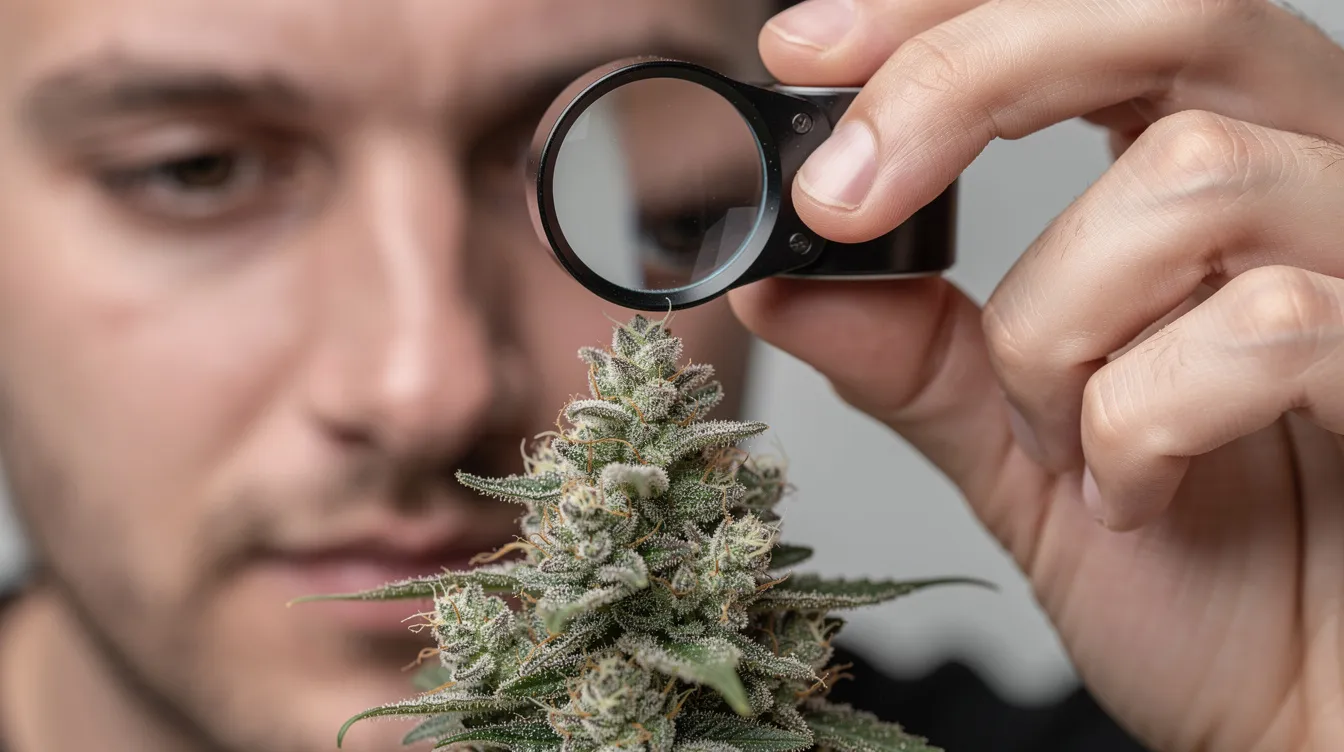
This is where precision happens. Cannabis trichomes are microscopic structures ranging from 50-100 microns at the head. You cannot accurately assess trichome color with the naked eye.
Recommended magnification tools:
Tool Type | Magnification | Best For |
|---|---|---|
Jeweler’s loupe | 30-60x | Portable, quick checks |
Digital USB microscope | 60-100x | Screen viewing, photo documentation |
Stereomicroscope | 200x+ | Lab-grade precision |
A quality magnifying glass won’t cut it for this work. Invest in at least a 60x loupe to see trichome heads clearly.
Clear Trichomes
Clear trichomes appear glassy and translucent. They indicate immature plants still in active resin production. THC production hasn’t peaked, and harvesting now yields:
Low potency
Racy, anxious effects
Minimal aroma development
Cloudy/Milky Trichomes
When trichome heads turn opaque white—like tiny frosted light bulbs—you’ve reached peak THC saturation. Milky trichomes represent:
Highest potency
Maximum terpene content
Strongest psychoactive effects
This is the sweet spot for many growers seeking potent buds with full flavor profiles.
Amber Trichomes
As THC degrades through oxidation, trichome heads shift from milky to amber or golden. This transformation indicates:
THC converting to CBN
Less psychoactivity
More sedative, body-focused effects
Lab analyses show milky-stage trichomes contain 25-30% THC, while amber-dominant samples drop to 15-20%.
Target Ratios for Harvest
The ideal harvest point for balanced effects:
70-80% cloudy trichomes
20-30% amber trichomes
Adjust based on your desired effect:
Energetic, cerebral high: 80-90% milky, 10% slight amber
Balanced effects: 70-80% milky, 20-30% amber
Sedative, couch-lock: 50-60% milky, 40-50% darker amber color
Strain and Position Variations
Indica strains ripen faster and tolerate higher amber percentages. Sativas need extended flowering to achieve milky dominance.
Bud position matters significantly. Top colas receiving direct light mature 5-10 days ahead of lower buds shaded by canopy. Always sample multiple locations:
Upper colas
Mid-canopy buds
Lower buds
This prevents single-spot bias from skewing your assessment.

Using Cloudy Trichomes To Time Harvest
Cloudy trichomes serve as your primary indicator for peak thc levels. The milky opacity reflects maximum cannabinoid and terpene accumulation before degradation begins.
Studies and grower reports document 20-50% potency drops when buds are harvested at the wrong trichome stage. This isn’t minor variation—it’s the difference between memorable cannabis and forgettable product.
Harvest Timing Examples
Early harvest (Days 50-60 of flowering):
50% clear, 50% cloudy trichomes
Speedy, cerebral head-high
Weaker overall potency
Smaller, less dense yields
Prime harvest (Days 60-70 of flowering):
70-90% cloudy, 10-20% amber
Peak THC and terpene content
Strongest effects
Maximum yield and density
Late harvest (Days 70-80 of flowering):
50%+ amber trichomes
Sedative, anti-anxiety body effects
Diminished THC, elevated CBN
Risk of terpene degradation
The late flowering window works for growers specifically seeking sedation or sleep-promoting effects. But most cannabis enthusiasts target the prime window.
Sampling Protocol
Never base your harvest date on a single observation point. Sample multiple colas across 3-5 buds per plant:
Check 50-100 trichomes per sample site
Observe at 2-3 different times of day
Average your findings across all locations
Resin production occurs nocturnally, making morning observations ideal when terpene content peaks. Check under consistent lighting—natural light or white LED—to avoid color distortion.
Determine Your Harvest Window
Creating a concrete timeline helps you plan the harvesting process with precision. Here’s a general framework for when plants mature:
Window | Trichome Profile | Flower Day Range | Effect Character |
|---|---|---|---|
Early | 50% milky, minimal amber | Days 50-60 | Energetic, lighter |
Prime | 70-90% milky, 10-20% amber | Days 60-70 | Peak potency, balanced |
Late | 50%+ amber | Days 70-80 | Sedative, body-focused |
These ranges apply to most plants but shift based on genetics. Some sativas require 12+ weeks of flowering to reach harvest readiness.
Multi-Day Observation
Trichome changes accelerate dramatically in the final week. Daily observation is essential once you approach your anticipated window.
Changes that took weeks early in flowering happen in days during the final stage. Don’t assume you have time to spare.
Set up a consistent observation routine:
Same time each day (morning preferred)
Same lighting conditions
Same magnification tool
Same sample locations
Photo Documentation
Logging photos creates a visual timeline for retrospective analysis. This practice helps you:
Track progression objectively
Build strain-specific baselines for future grows
Confirm readiness without second-guessing memory
Use a smartphone with macro capability or a USB microscope with screenshot function. Note timestamps and percentages in a journal or app. After several harvests, you’ll develop intuitive timing for cannabis strains you grow repeatedly.
Harvesting Cannabis: Methods And Timing
Once trichomes confirm your window, you face a choice: harvest the entire plant at once or stage the process over multiple sessions.
Full Harvest Advantages and Disadvantages
Advantages:
Uniform quality across all buds
Simpler processing logistics
Maximum yield in a single session
Easier to manage drying space
Disadvantages:
Lower buds may be underripe
Top colas may be overripe
Potential potency variation within the same plant
Full harvest suits indoor grows with even light distribution where ripeness differences stay minimal.
When to Choose Partial Harvest
Partial harvest techniques make sense when:
Ripeness gradient exceeds 20% between tops and lowers
Top colas show 70%+ milky but lower buds remain 50% clear
Outdoor grows with significant light variation
Plants experienced stress during flowering
Studies suggest 30-50% of grows exhibit uneven ripening, making partial harvest a valuable skill for many growers.
Staging Harvests for Uneven Ripening
Plan staged harvests over 1-2 weeks:
Cut ripe top colas first (when they hit your target ratio)
Leave lower buds with reduced light/water
Return in 5-14 days for second pass
Repeat if necessary for particularly uneven plants
This approach can yield 10-20% potency and weight gains in lower buds compared to single-harvest methods.
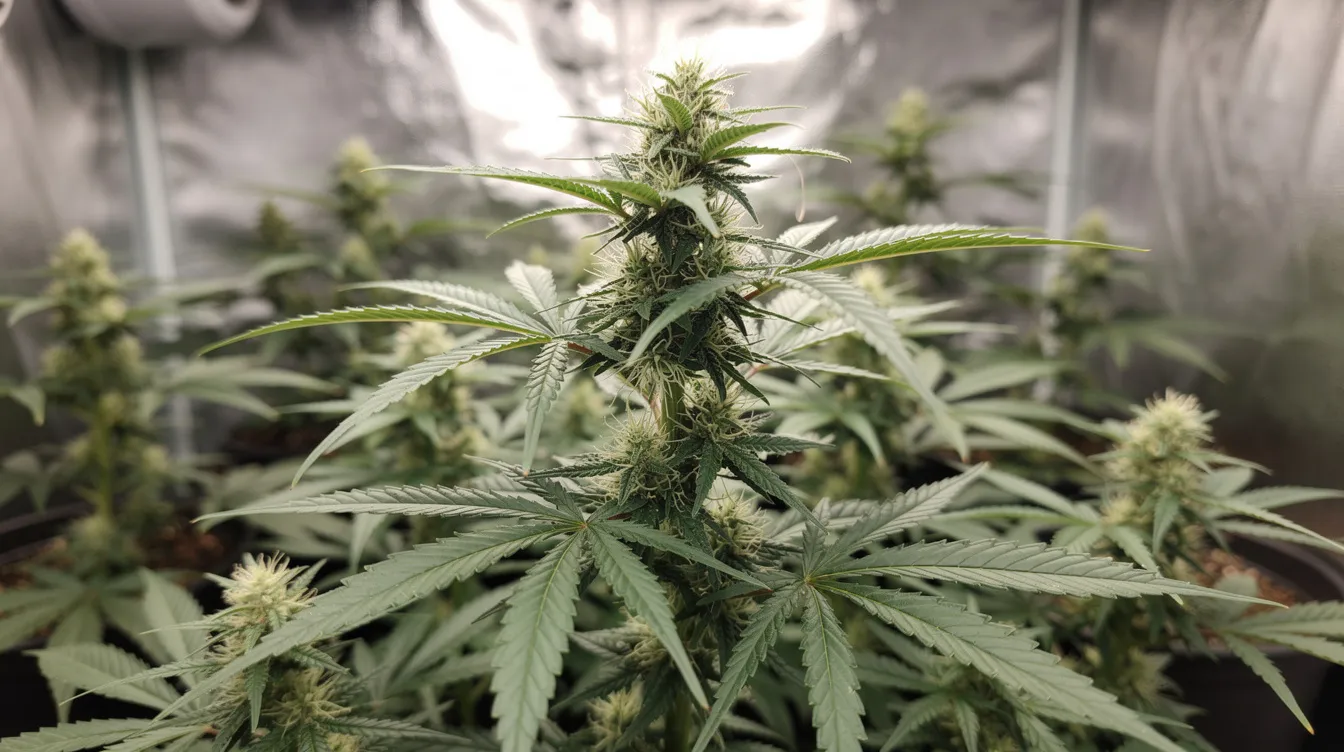
Full vs Partial Harvest (Partial Harvest Focus)
Partial harvest preserves lower buds that need additional maturation time. This technique treats your cannabis plant as multiple harvest zones rather than a single unit.
When to perform a partial harvest:
Top colas display 70-80% milky trichomes
Lower buds show 40-50% clear trichomes
More than 20% trichome difference between canopy levels
Steps to cut ripe top colas only:
Identify ripe colas using your magnification tool
Sterilize shears with 70% isopropyl alcohol
Cut individual branches at nodes, 2-4 inches from the main stem
Label harvested material by location and date
Hang harvested colas separately from unharvested material
Preparing lower buds for continued growth:
After removing tops:
Defoliate remaining fan leaves blocking light to lowers
Reduce nutrients by 50%
Lower relative humidity by 10-20% to prevent rot
Maintain normal light cycle
Lower buds receiving increased light exposure after top removal often develop surprising density. Many growers report their “second harvest” produces some of their most resinous material.
Cutting And Handling Cannabis Buds
Proper cutting technique preserves trichome production and prevents contamination.
Cutting protocol:
Cut branches near main stem nodes, leaving 2-4 inch stems for handling
Use sharp, sterilized shears
Clean blades with isopropyl alcohol between plants (or every 10-15 cuts)
Work in cool, low-humidity conditions to minimize trichome damage
Handling rules:
Handle stems exclusively—never touch cannabis buds directly. Trichome heads shatter easily from handling pressure, losing 5-15% of resin content through careless contact. Think of mature plant material as fragile as powdered sugar coating.
During the harvesting process, every time you touch a bud, you’re leaving cannabinoids on your fingers instead of in your product.
Transport cut material in clean containers without stacking or compressing. Shake and vibration also damage trichomes—move harvested branches carefully.
Trim, Dry, And Curing Stage
Post-harvest processing directly impacts final quality. Your trichomes survived weeks of careful observation; don’t lose potency during the drying process.
Wet Trim vs Dry Trimming
Wet trimming (immediately post-harvest):
Easier leaf removal while material is pliable
Faster drying time
Cleaner appearance
Higher trichome loss from handling wet, sticky buds
Dry trimming (after drying):
Better terpene preservation
Slower, more controlled moisture loss
Stickier, messier process
Reduced handling damage to dried buds
Most growers prefer dry trimming for premium flower. Sugar leaves and fan leaves protect trichomes during drying, and slower moisture evaporation preserves terpene profiles.
Hang-Dry vs Rack-Dry
Hang-dry method:
Hang branches upside-down on lines or hooks
Maintain 60-70°F temperature
Keep relative humidity at 45-55%
Dark environment required
Duration: 5-10 days
This method produces even moisture evaporation and preserves natural bud structure. Whole plant or branch drying creates superior final product for most setups.
Rack-dry method:
Lay trimmed buds flat on screens
Better for small yields or limited space
Faster drying (sometimes too fast)
Higher mold risk if air circulation is inadequate
Requires rotation to prevent flat spots
Regardless of method, buds should be dried slowly. Rapid drying destroys terpenes and creates harsh smoke. The stem-snap test indicates readiness: small stems should snap cleanly rather than bend.
Curing Stage Steps
Curing transforms good cannabis into exceptional cannabis. This process allows continued anaerobic breakdown of chlorophyll while stabilizing cannabinoid content.
Curing protocol:
Trim dried buds to final form
Place in mason jars or airtight containers
Fill jars 75% full to allow air space
Add hygrometer packs (target 62-65% RH)
Store in dark, cool location
Jar burping schedule:
Week | Burping Frequency | Duration |
|---|---|---|
Week 1 | 3-5x daily (first 3 days), then 1-2x daily | 15-30 minutes |
Weeks 2-4 | Once daily | 10-15 minutes |
Month 2+ | Weekly | 5-10 minutes |
Burping releases excess moisture and off-gases that create harsh, grassy flavors. Proper curing boosts smoothness by up to 50% and maximizes potency retention.
Watch for ammonia smell—this indicates excess moisture and potential mold. If detected, remove buds immediately and dry further before re-jarring.
A well-cured product continues improving for 4-8 weeks. Some strains benefit from 6+ months of curing, though this varies.
Special Cases And Troubleshooting Trichome Color
Not every grow proceeds according to plan. Environmental stress, pest pressure, and disease can force early decisions.
Harvesting Stressed or Dying Plants
Plants exhibiting severe stress—nutrient lockout, root problems, environmental damage—should be harvested early at 50-70% milky trichomes to salvage potency.
Stressed plants convert THC to CBN rapidly. Waiting for “perfect” trichome ratios while the plant dies wastes whatever cannabinoid content remains.
Signs requiring early harvest:
Widespread leaf necrosis beyond normal senescence
Root system failure
Severe pest infestation affecting buds
Environmental catastrophe (temperature extremes, flooding)
Cut losses early rather than watching your entire plant degrade. Even 50% milky trichomes deliver usable product.
Bud Rot Response
Suspected bud rot demands immediate action. Symptoms include:
Gray fuzz visible in dense cola cores
Ammonia or musty smell
Brown, dead tissue inside otherwise healthy buds
Rapid spread to adjacent colas
If you find bud rot:
Immediately harvest affected colas
Cut 2-3 inches below visible infection
Quarantine infected material—do not process with healthy buds
Some growers treat borderline material with H2O2 dips
Harvest remaining plant early to prevent spread
Rot spreads rapidly in humid conditions. One infected cola can contaminate an entire plant within days. When in doubt, cut it out.
Mixed Signals Between Top and Lower Buds
When top colas show 80% amber but lower buds remain 40% clear, you’re seeing the light-gradient effect. Top buds can reach harvest 1-2 weeks before lowers due to light intensity differences.
Solutions:
Implement partial harvest as described above
Check lower buds separately and independently
Don’t average top and bottom readings—treat them as separate zones
This situation is common and doesn’t indicate problems. It simply requires staged harvest rather than whole plant processing.
Visual Aids, Tools, And Photography
Quality observation requires quality tools. Your investment in magnification directly impacts harvest precision.
Recommended Magnifiers and Microscopes
Budget options ($15-30):
Carson MicroBrite 60-120x pocket scope
Standard jeweler’s loupe 30-60x
Clip-on smartphone macro lenses
Mid-range options ($40-100):
USB digital microscopes 60-100x
Seek Thermal compact microscope (app-integrated)
Wireless digital microscopes with screen
Professional options ($150+):
iScope 1000x digital microscope
Lab-grade stereomicroscopes
Dedicated macro photography setups
For most home growers, a 60x pocket loupe plus a digital USB microscope provides sufficient capability. The digital option allows photo documentation without hand tremor issues.
Photographing Trichomes
Consistent photography enables objective comparison over time:
Use white LED backlighting
Stabilize your hand or use a tripod/stand
Set camera/phone to macro mode
Focus on trichome heads, not stalks
Capture 10-20 fields across your sample areas
Morning photographs under natural light provide the most accurate color representation. Artificial lighting can shift apparent color toward yellow, making milky trichomes appear amber.
Creating a Reference Gallery
Build a personal trichome reference by photographing the same strain across multiple grows. Over time, you’ll develop visual benchmarks for:
Clear stage appearance for your specific genetics
Milky peak for optimal harvest
Amber progression rate
Compare your images to established galleries from resources like Grow Weed Easy or Alchimia’s strain-specific timelines. This calibrates your eye against known standards.
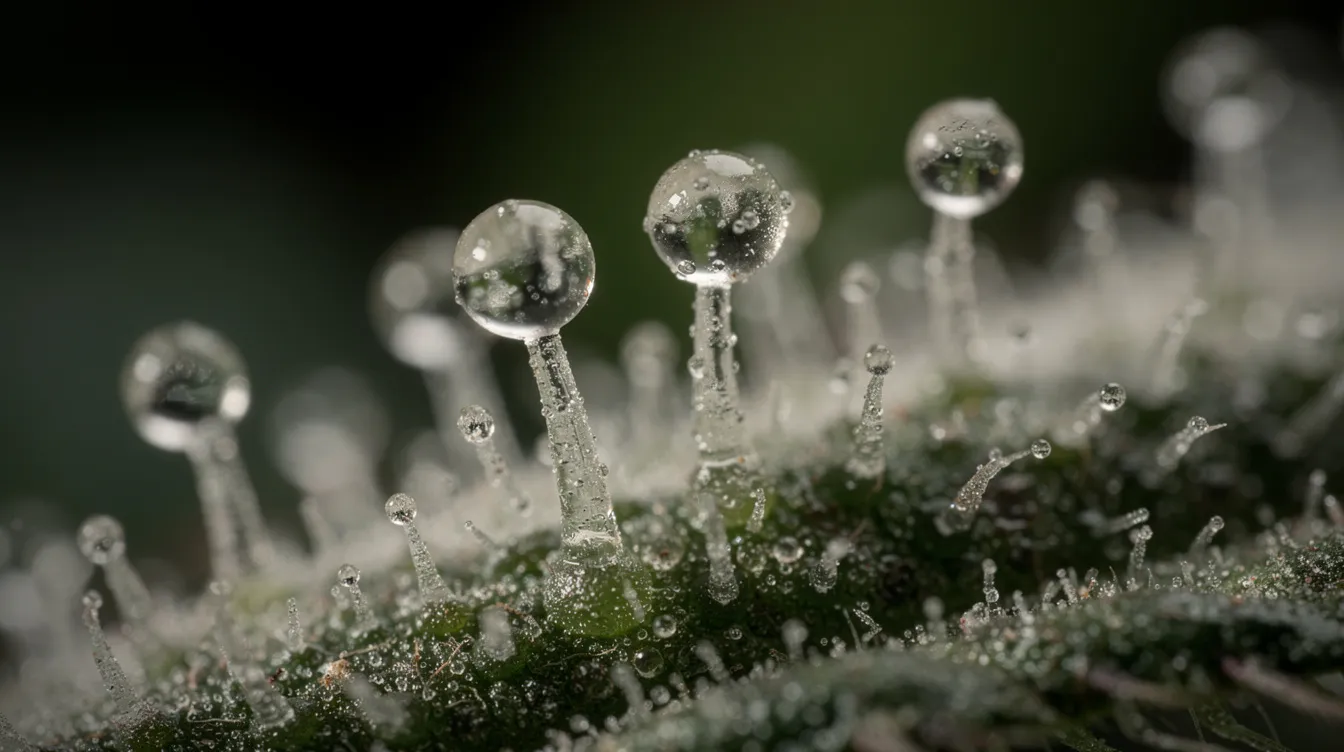
Quick Cheat Sheet: Ready For Harvest Checklist
When you reach harvest time, run through this verification process before cutting:
Step 1: Inspect Multiple Colas
[ ] Check top colas with 60x+ magnifier
[ ] Check mid-canopy buds
[ ] Check lower buds
[ ] Sample 3-5 plants if growing multiple
[ ] Observe 50-100 trichomes per location
Step 2: Assess Trichome Ratios
[ ] Target 70-80% cloudy trichomes
[ ] Accept 20-30% amber trichomes for balanced effects
[ ] Adjust ratios based on desired effect
[ ] Confirm minimal clear trichomes remain (<10%)
Step 3: Cross-Check Secondary Indicators
[ ] 50-70% pistils darkened/curled
[ ] Buds feel firm and dense
[ ] Lower fan leaves yellowing
[ ] No signs of bud rot or pest damage
Step 4: Decide Harvest Approach
[ ] Full harvest if ripeness is uniform (<20% variation)
[ ] Partial harvest if significant ripeness gradient exists
[ ] Plan staged harvest dates if needed
Step 5: Prepare Equipment
[ ] Sterilize shears
[ ] Set up drying space (60-70°F, 45-55% RH)
[ ] Prepare containers for transport
[ ] Clear adequate processing time
When all boxes check positive, you’ve confirmed that your cannabis plant is ready for harvest. Happy harvest—your patience and observation have paid off.
Resources And Further Reading
Deepen your knowledge with these recommended resources:
Trichome Image Galleries:
Grow Weed Easy’s staged trichome photo series
Alchimia’s strain-specific harvest timelines
THCFarmer forum image threads
Drying and Curing Guides:
Spider Farmer’s humidity control protocols
Detailed jar-curing schedules with RH monitoring
Temperature and air circulation optimization guides
Strain-Specific Resources:
Seed bank flowering time data
Phenotype variation documentation
Regional harvest timing (outdoor cultivation)
Continue photographing your own trichomes and building strain-specific baselines. After several grows with the same genetics, you’ll recognize harvest readiness instinctively.
The difference between average cannabis and exceptional cannabis often comes down to these final days of observation. Master trichome reading, and you’ll consistently produce potent buds with maximum cannabinoid and terpene content. Your investment in proper timing pays dividends with every harvest—don’t rush the process, and don’t lose potency to impatience.
Start documenting your observations today. The growers who track their results across multiple cycles develop intuition that serves them for years. Your next harvest cannabis buds deserve precision timing.
Related Articles
Frequently Asked Questions

Written by
The Green Treasure Editorial Team
Independent cannabis journalism backed by science. We cover terpenes, vaporizers, edibles, growing and health.
Stay in the green loop
Expert guides, terpene science, growing tips, and gear reviews — delivered to your inbox. No spam, ever.
No spam. Unsubscribe anytime.