brownie dosage">What Is Cannabutter?
 how long edibles last/h2-01.webp" alt="What Is Cannabutter?" loading="lazy" class="w-full rounded-lg my-6">
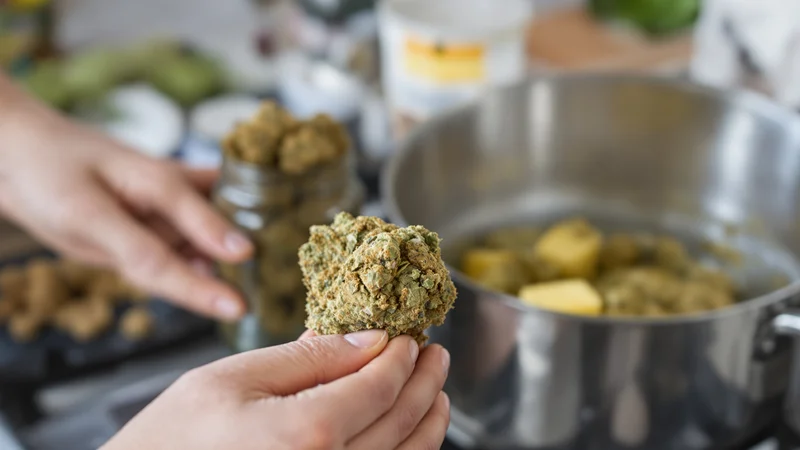
Cannabutter — butter infused with decarb weed in microwave — is the foundation of virtually every cannabis recipe in the kitchen. Whether brownies, cookies, sauces, or even savory cooking: once you know how to make cannabutter, you have mastered the most important building block of the entire cannabis kitchen.
At its core, cannabutter is nothing more than regular butter in which the fat-soluble cannabinoids (primarily THC and CBD) have been dissolved. Since cannabinoids bind exceptionally well to fat, butter with its high fat content of around 80% is the ideal carrier medium. The result is a versatile ingredient that you can use in practically any recipe that calls for butter.
The major advantage over smoking or vaporizing: smoking vs edibless last longer and produce more even effects. However, the onset is also significantly delayed — typically 30 to 90 minutes. That is why careful dosing with cannabutter is particularly important.
Ingredients and Equipment
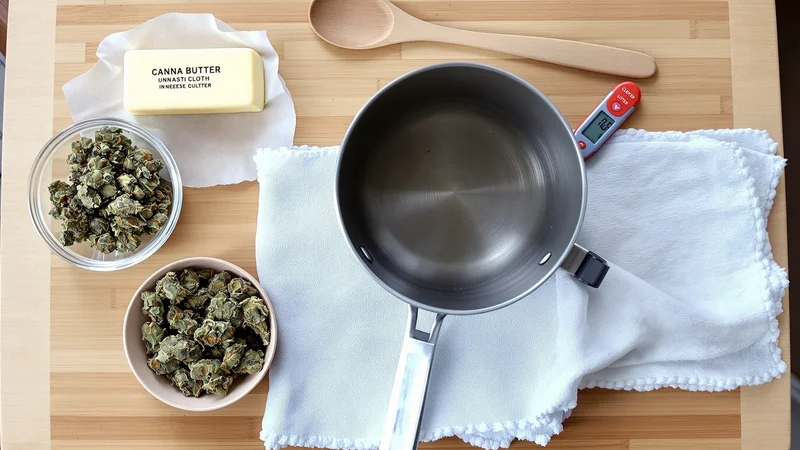
What You Need
- Cannabis flower: 7 to 14 grams / 0.25 to 0.5 oz (depending on desired potency)
- Butter: 250 g / 1 cup plus 2 tablespoons unsalted butter (high-fat European-style butter recommended)
- Water: approx. 250 ml / 1 cup (prevents burning)
Required Equipment
- Baking sheet with parchment paper
- Kitchen thermometer (essential for temperature control)
- Saucepan or slow cooker
- Cheesecloth or fine mesh strainer
- Heat-resistant glass container for storage
- Kitchen scale
- Grinder or scissors
A kitchen thermometer is truly indispensable. Temperature control determines the success or failure of your cannabutter — both during decarboxylation and during the cooking process.

Decarboxylation: The Most Important Step
Before you begin the actual cooking process, you need to carry out one crucial step: decarboxylation. Without this process, your cannabutter will have little to no effect.

Why Is Decarboxylation Necessary?
In the fresh plant, cannabinoids exist in their acidic forms — as THCA and CBDA. These precursors are not psychoactive. Only through heat is a carboxyl group removed, converting them into THC and CBD respectively. When smoking, this happens automatically due to the high temperature. When cooking, we need to perform this step deliberately beforehand.
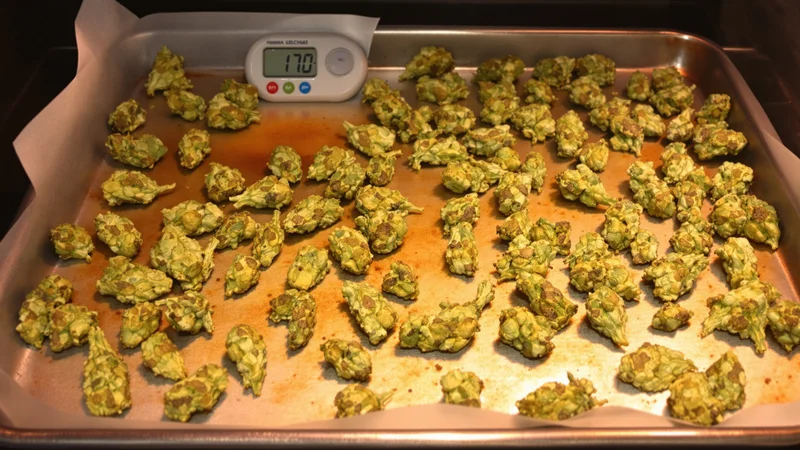
Step-by-Step Decarboxylation
- Prepare: Preheat your decarb weed in oven to 110 °C / 230 °F (conventional setting, not fan-assisted). Break up the cannabis buds coarsely — do not grind too fine, as they burn more easily.
- Spread: Line a baking sheet with parchment paper and distribute the broken-up cannabis evenly in a thin layer.
- Bake: Place the sheet in the oven for 30 to 40 minutes. Gently turn the material over halfway through.
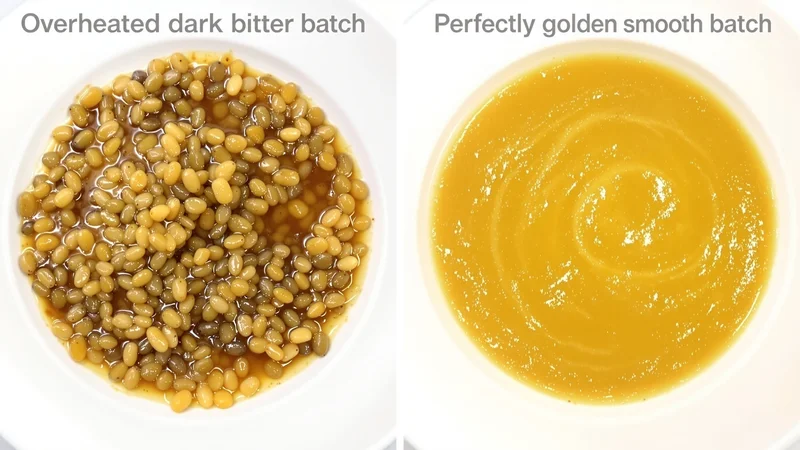
- Check: The cannabis should take on a golden-brown cannabutter color guide and smell dry and toasted. If it turns dark brown, the temperature was too high.
Important: Never exceed 120 °C / 250 °F. At around 150 °C / 300 °F, cannabinoids begin to degrade, and valuable terpene effects guide-chart/">terpenes are also lost at excessively high temperatures. Terpenes not only contribute to aroma but can also influence the effects through the so-called entourage effect. A gentle decarboxylation at lower temperatures preserves more of these delicate compounds.
How to Make Cannabutter: The Step-by-Step Guide
After decarboxylation, it is time for the actual preparation. There are several methods — here we describe the most tried-and-true stovetop method as well as the slow cooker method.
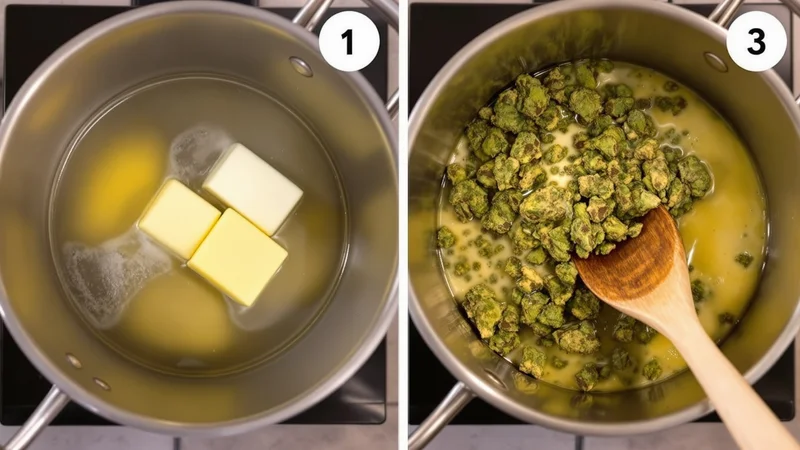
Method 1: Stovetop (2-3 Hours)
- Melt the butter: Add 250 g / 1 cup plus 2 tablespoons of butter and 250 ml / 1 cup of water to a saucepan and heat on low until the butter is completely melted.
- Add cannabis: Add the decarboxylated cannabis to the butter-water mixture. Stir gently.
- Simmer: Maintain the mixture at 70-80 °C / 158-176 °F for 2 to 3 hours. The liquid should never boil — a gentle simmer is the maximum. Stir every 15-20 minutes.
- Monitor temperature: Use your kitchen thermometer regularly. The ideal temperature range is between 70 and 85 °C / 158 and 185 °F. Above 100 °C / 212 °F, you risk losing cannabinoids.
- Strain: Place a cheesecloth or fine mesh strainer over a heat-resistant glass container. Pour the mixture through slowly. Do not squeeze the plant material — squeezing pushes chlorophyll and bitter compounds into the butter.
- Cool: Let the liquid cool to room temperature, then place it in the refrigerator for at least 4 hours (overnight is better).
- Remove water: The butter will solidify on top, and the water will collect at the bottom. Poke a hole in the solid butter layer and pour off the water. Pat the underside of the butter dry.
Method 2: Slow Cooker (6-8 Hours)
The slow cooker is ideal for cannabis beginners guides, as it maintains the temperature more consistently:
- Add butter, water, and decarboxylated cannabis to the slow cooker.
- Set it to the lowest setting (Low).
- Let the mixture simmer for 6 to 8 hours. Stir occasionally.
- Monitor the temperature — it should not exceed 85 °C / 185 °F.
- Strain and cool as described in Method 1.
Both methods deliver excellent results. The slow cooker method is somewhat more forgiving but takes significantly longer.
Dosing: How to Find the Right Potency
Dosing is one of the trickiest aspects of making cannabutter. Several factors come into play:

Basic Calculation
Here is an example for reference:
- You use 10 g of cannabis with 15% THC content
- That yields a theoretical 1,500 mg of THC
- At an extraction efficiency of approximately 60-80%, around 900-1,200 mg of THC remain in the butter
- Distributed across 250 g of butter, that equals roughly 3.6-4.8 mg of THC per gram of butter
For beginners, a dose of 2.5 to 5 mg of THC is recommended. In our example, that corresponds to about 1 to 1.5 grams of cannabutter.
The Golden Rule: Start Low, Go Slow
Edibles work differently than inhalation:
- Onset: 30-90 minutes (sometimes up to 2 hours)
- Duration: 4-8 hours (significantly longer than smoking)
- Intensity: Can be uncomfortably strong if overdosed
Always start with a small amount and wait at least 2 hours before taking more. The most common mistake with edibles is impatience — many people take a second dose before the first one has kicked in.
Test Dose Recommended
Before using your cannabutter in an elaborate recipe, test it: take a quarter teaspoon on a piece of bread. Wait 2 hours and assess the effects. This way, you can gauge the potency and dose more accurately later.
Proper Storage of Cannabutter
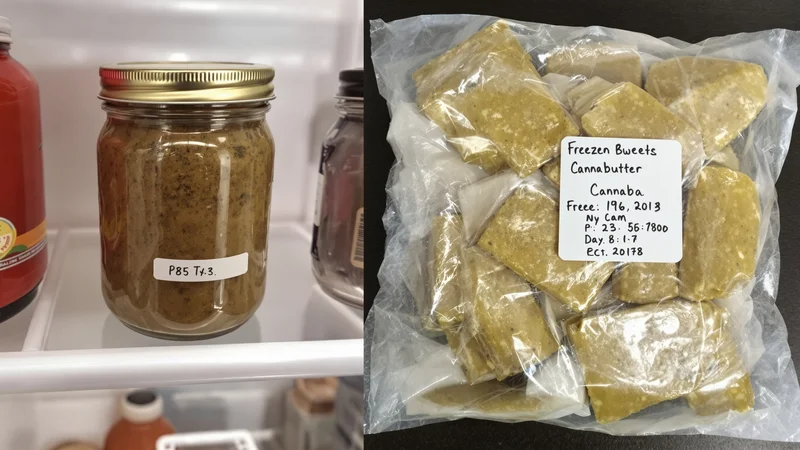
Cannabutter is perishable — treat it like regular butter, just with a bit more care:
Refrigerator (Up to 2 Weeks)
- Store in an airtight container
- Keep in a dark place (light degrades cannabinoids)
- Shelf life: approximately 2 weeks
- Check for weed mold or unusual edibles smell guide
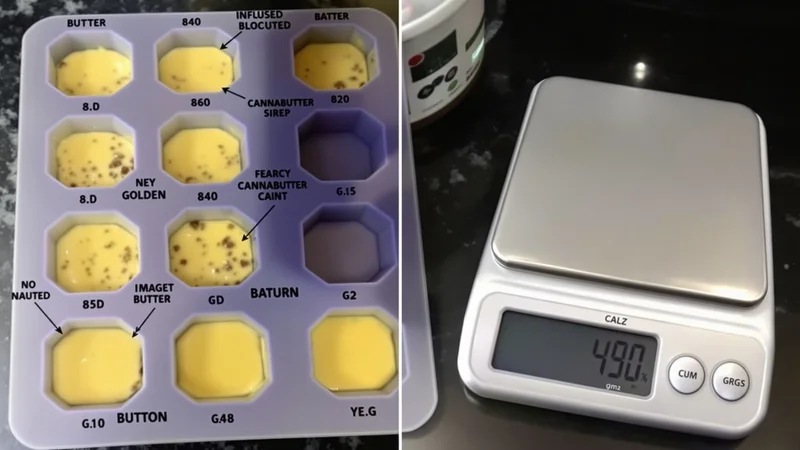
Freezer (Up to 6 Months)
- Portion the butter before freezing (e.g., in ice cube trays)
- Wrap in plastic wrap and place in a freezer bag
- Label with date and estimated potency
- Shelf life: up to 6 months
Tip: Portioned freezing is ideal. This way, you can always take out exactly the amount you need without thawing the entire batch.
The Most Common Mistakes When Making Cannabutter
To ensure your cannabutter turns out well, avoid these typical mistakes:

1. Skipping Decarboxylation
The number one mistake. Without decarboxylation, there is no effect. Take the 30-40 minutes in the oven — it is worth it.
2. Temperatures Too High
Whether during decarboxylation or cooking: too much heat destroys cannabinoids and terpenes. Stick to the recommended temperature ranges and always use a thermometer.
3. Cannabis Ground Too Fine
Grinding too finely leads to a grassy, bitter taste. Coarsely breaking it up is perfectly sufficient — the cannabinoids sit on the trichomes on the surface.
4. Squeezing the Plant Material
When straining through the cloth, you might be tempted to squeeze out as much as possible. Resist the urge! Squeezing presses chlorophyll and other unwanted compounds into your butter, making it bitter and green.
5. Not Using Water
The water serves as a temperature buffer and prevents the butter from burning. It can be easily separated at the end and also results in a cleaner, purer butter.
6. Incorrect Dosing
Without calculation and a test dose, you are flying blind. Take the time to estimate the potency of your cannabutter before using it in larger quantities.
Ways to Use Cannabutter
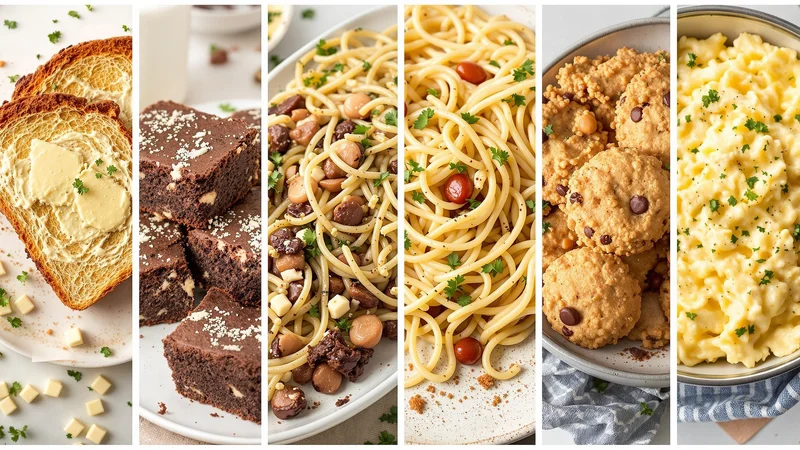
Cannabutter is incredibly versatile. Here are the most popular uses:
Sweet Baked Goods
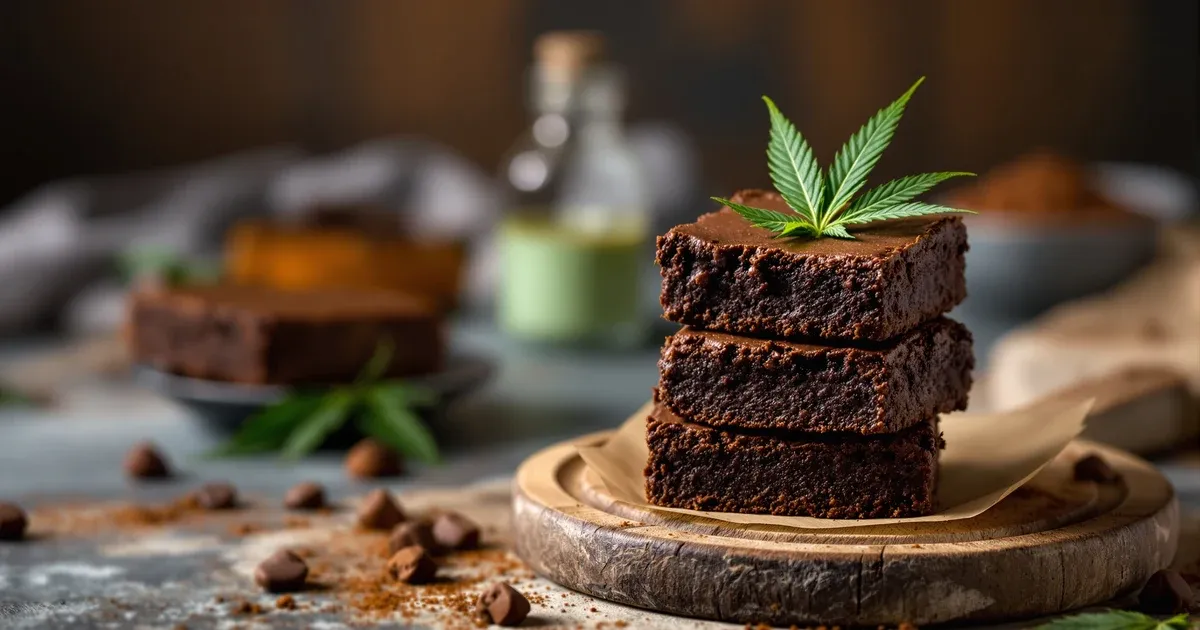
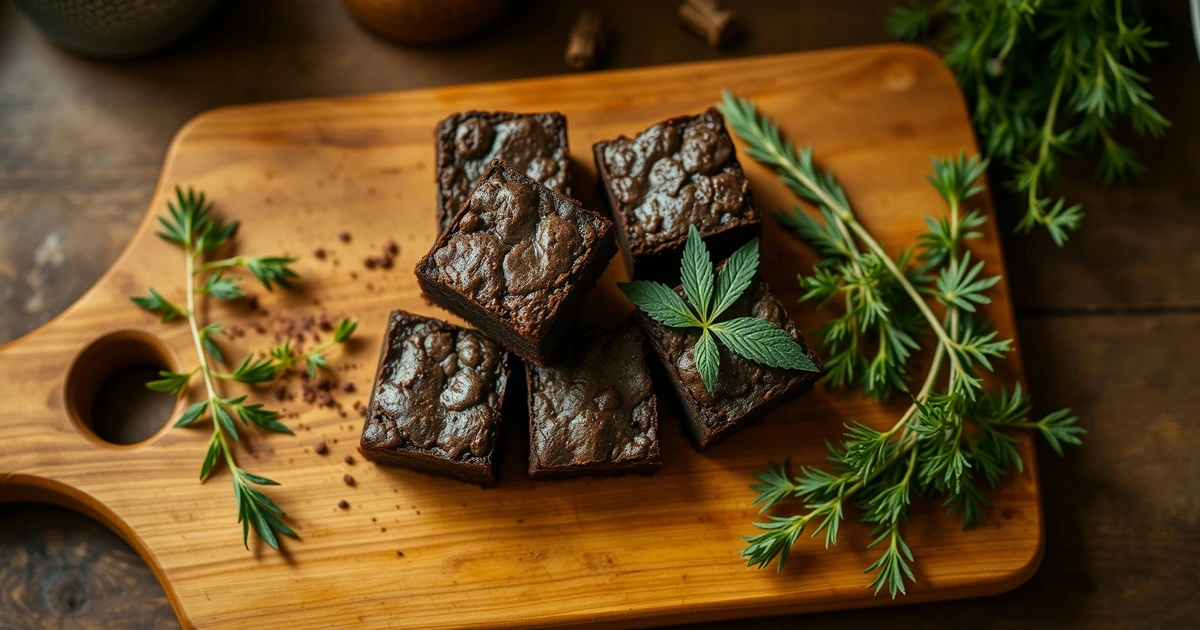
- Brownies: The undisputed classic. Simply replace the regular butter in your recipe with cannabutter. Check out our complete weed brownies guide for a tried-and-tested recipe.
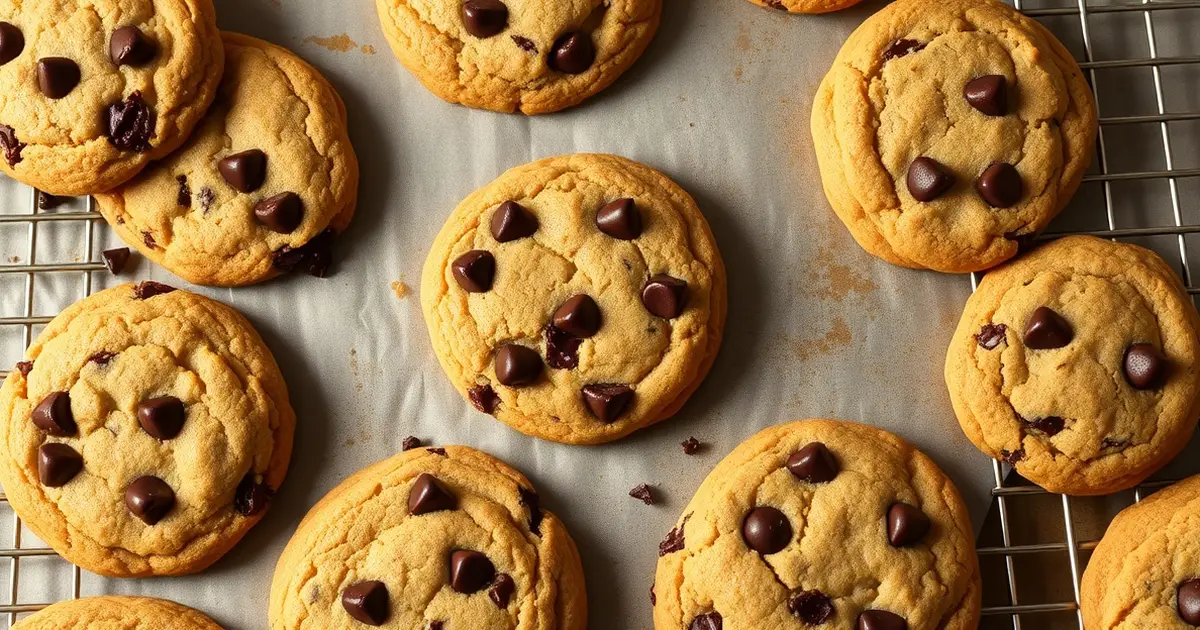
- Cookies: Chocolate chip cookies or classic butter cookies work wonderfully.
- Cakes and muffins: Any recipe that calls for butter can be converted.
- Space cakes: A classic from Dutch coffee shop culture.
Savory Dishes
- Pasta sauces: Stir a piece of cannabutter into a finished sauce.
- Garlic bread: Mix garlic butter with a portion of cannabutter.
- Mashed potatoes: Stir in cannabutter instead of regular butter.
- Risotto: Stir in a piece of cannabutter at the end (do not cook it with the dish!).
Simple Applications
- On toast: The simplest method — just spread it on warm bread.
- In coffee or tea: Stir a small piece into a hot beverage (so-called bulletproof coffee).
- Popcorn: Drizzle melted cannabutter over fresh popcorn.
Important note: When cooking and baking with cannabutter, the internal temperature of the dish should not exceed 160 °C / 320 °F. When baking in the oven at 175-180 °C / 350 °F, the internal temperature of the dough stays well below that — so this is not a problem. However, avoid frying directly in a pan at high heat.
Alternative: Already Vaped Bud (AVB)
Do you use a vaporizer? Then do not throw away your already vaped bud (AVB or ABV). Since the herb is already partially decarboxylated during vaporization — for example in a high-quality convection device like those from Norddampf — you can use AVB directly for cannabutter. The oven decarboxylation step is then largely unnecessary. Keep in mind, however, that AVB is less potent than fresh cannabis, since a portion of the cannabinoids has already been vaporized. Plan to use double to triple the amount accordingly.
Advanced Cannabutter Tips
Use Clarified Butter (Ghee)
Ghee has a higher fat content than regular butter (nearly 100% compared to 80%). More fat means more binding capacity for cannabinoids. In addition, ghee-based cannabutter keeps longer and has a higher smoke point.

Add Lecithin
A teaspoon of sunflower lecithin (available as granules) can increase bioavailability. Lecithin is an emulsifier that can support the absorption of fat-soluble substances in the digestive tract.
Multiple Infusions
Some makers infuse fresh cannabis into already-infused butter — for a stronger cannabutter. Keep in mind that dosing becomes significantly more difficult to calculate when doing this.
Legal Disclaimer
This article is intended solely for informational and educational purposes. The production and consumption of cannabis products are subject to the respective national and regional laws. In Germany, cannabis has been legal for adults under certain conditions since April 1, 2024. Always inform yourself about the current legal situation in your country or region before processing or consuming cannabis. This article does not constitute medical advice and is not a substitute for consulting a physician. The consumption of cannabis products is at your own risk.

Related Articles
Frequently Asked Questions
Quite strong, especially during decarboxylation. Ensure good ventilation or use the slow cooker method with the lid on, which spreads somewhat less odor.
Yes, coconut oil actually works very well since it has an even higher content of saturated fatty acids. The process is identical. The result is then called cannabis coconut oil (canna-oil).
A strong green color indicates a lot of chlorophyll. This happens when the cannabis was ground too fine, cooked for too long, or the plant material was squeezed during straining. The potency is not affected, but the taste can be bitter.
In the refrigerator, approximately 2 weeks; frozen, up to 6 months. Make sure to use airtight containers and store in a dark place.
Written by
The Green Treasure Editorial Team
Independent cannabis journalism backed by science. We cover terpenes, vaporizers, edibles, growing and health.
Stay in the green loop
Expert guides, terpene science, growing tips, and gear reviews — delivered to your inbox. No spam, ever.
No spam. Unsubscribe anytime.